


Hey there, fellow printer enthusiasts! I'm a supplier in the printer game, and today I'm gonna walk you through the process of installing a Continuous Ink Supply System (CISS) in a printer. It's a pretty cool upgrade that can save you a ton of money in the long run, so let's get started!
What is a CISS?
Before we jump into the installation process, let's quickly go over what a CISS is. A Continuous Ink Supply System is basically an external ink reservoir that connects to your printer. Instead of using those expensive, single-use ink cartridges, you can refill the CISS with ink as needed. This not only saves you money but also reduces waste. It's a win-win!
Why Install a CISS?
There are a few reasons why you might want to install a CISS in your printer. First off, as I mentioned earlier, it's a cost-effective solution. Buying ink in bulk is much cheaper than buying individual cartridges. Plus, you won't have to worry about running out of ink in the middle of an important print job. You can just refill the CISS and keep on printing.
Another benefit of a CISS is that it's more environmentally friendly. By reducing the number of ink cartridges you use, you're helping to cut down on waste. And let's face it, we could all do our part to be a little more eco-friendly.
What You'll Need
Before you start the installation process, you'll need to gather a few things. Here's a list of what you'll need:
- A CISS kit that's compatible with your printer model. You can find these online or at your local printer supply store.
- A Phillips head screwdriver.
- A pair of scissors.
- A clean, flat surface to work on.
- Some paper towels or a clean cloth to wipe up any spills.
Step 1: Prepare Your Printer
The first step in installing a CISS is to prepare your printer. Start by turning off your printer and unplugging it from the power source. This will help prevent any electrical shocks or damage to your printer.
Next, open the printer cover and locate the ink cartridges. Remove the cartridges from the printer and set them aside. You won't be using them anymore once the CISS is installed.
Step 2: Install the CISS Reservoirs
Now it's time to install the CISS reservoirs. These are the containers that hold the ink. Most CISS kits come with a set of reservoirs that are color-coded to match the ink colors in your printer.
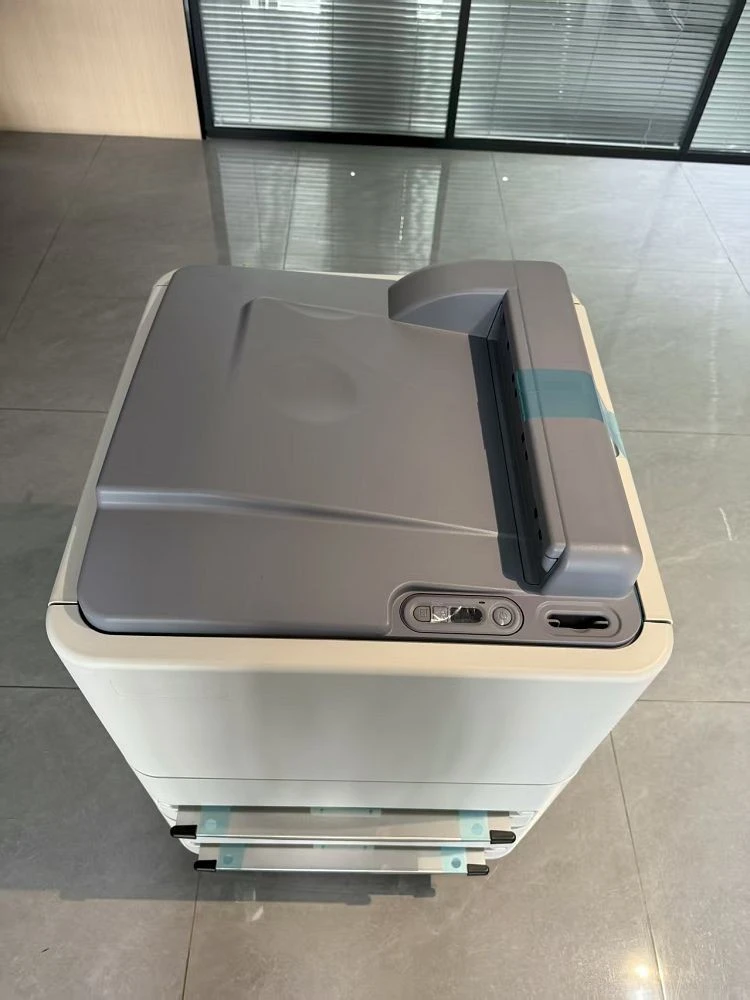

Start by finding a suitable location for the reservoirs. You'll want to place them somewhere that's close to the printer but out of the way. A shelf or a table next to the printer works well.
Once you've found a location for the reservoirs, use the included mounting brackets or adhesive strips to attach them to the surface. Make sure they're securely attached and level.
Step 3: Connect the Ink Tubing
The next step is to connect the ink tubing from the CISS reservoirs to the printer. The tubing is usually color-coded to match the ink colors in the reservoirs.
Start by removing the protective caps from the ends of the tubing. Then, carefully insert the tubing into the ink inlets on the printer. Make sure the tubing is inserted all the way and that there are no kinks or bends in the tubing.
Once the tubing is connected to the printer, use the included cable ties or clips to secure the tubing in place. This will help prevent the tubing from getting tangled or pulled out of the printer.
Step 4: Fill the CISS Reservoirs
Now that the CISS reservoirs are installed and the tubing is connected, it's time to fill the reservoirs with ink. Most CISS kits come with a set of syringes or bottles for filling the reservoirs.
Start by filling each reservoir with the appropriate color of ink. Be careful not to overfill the reservoirs, as this can cause ink to spill out.
Once the reservoirs are filled, replace the caps on the reservoirs to prevent any ink from leaking out.
Step 5: Prime the CISS System
After filling the CISS reservoirs, you'll need to prime the system to make sure the ink flows properly from the reservoirs to the printer. To do this, you'll need to follow the instructions that came with your CISS kit.
In most cases, you'll need to use the included priming tool or syringe to draw ink from the reservoirs into the tubing. This will help remove any air bubbles from the tubing and ensure that the ink flows smoothly.
Once you've primed the system, you can test the printer to make sure it's working properly. Print a test page to check the print quality and make sure all the colors are printing correctly.
Step 6: Adjust the Ink Flow
If you notice that the print quality isn't quite right or that the ink isn't flowing properly, you may need to adjust the ink flow. Most CISS kits come with a set of valves or regulators that you can use to adjust the ink flow.
To adjust the ink flow, start by turning the valves or regulators clockwise or counterclockwise to increase or decrease the ink flow. Make small adjustments at a time and test the printer after each adjustment to see if the print quality improves.
Step 7: Secure the Tubing
Once you're satisfied with the print quality and the ink flow, it's time to secure the tubing. Use the included cable ties or clips to secure the tubing to the printer and the CISS reservoirs. This will help prevent the tubing from getting tangled or pulled out of the printer.
Step 8: Close the Printer Cover
Finally, close the printer cover and plug your printer back into the power source. Turn on your printer and let it initialize. You're now ready to start printing with your new CISS!
Tips and Tricks
- Make sure to follow the instructions that came with your CISS kit carefully. Different kits may have slightly different installation procedures, so it's important to read the instructions thoroughly.
- If you're having trouble with the installation process, don't hesitate to reach out to the manufacturer or a professional printer technician for help.
- Keep the CISS reservoirs clean and free of debris. This will help prevent clogs and ensure that the ink flows smoothly.
- If you're not going to be using your printer for an extended period of time, make sure to turn off the CISS system and disconnect the tubing from the printer. This will help prevent the ink from drying out and clogging the tubing.
Conclusion
Installing a CISS in your printer is a great way to save money and reduce waste. By following the steps outlined in this blog post, you should be able to install a CISS in your printer with ease.
If you're interested in purchasing a CISS kit or any other printer supplies, feel free to contact us for a quote. We're a leading printer supplier, and we offer a wide range of high-quality printer products at competitive prices.
We also offer a variety of other printer products, including Dry Thermal Imagers, Dry Laser Printers, and Medical Thermal Printers. So, whether you're looking for a CISS kit or a new printer, we've got you covered.
Thanks for reading, and happy printing!
References
- "How to Install a Continuous Ink Supply System (CISS) in Your Printer." PrinterGuides.com.
- "CISS Installation Guide." Inkjetsuperstore.com.
- "Installing a CISS on Your Printer." Epson.com.